
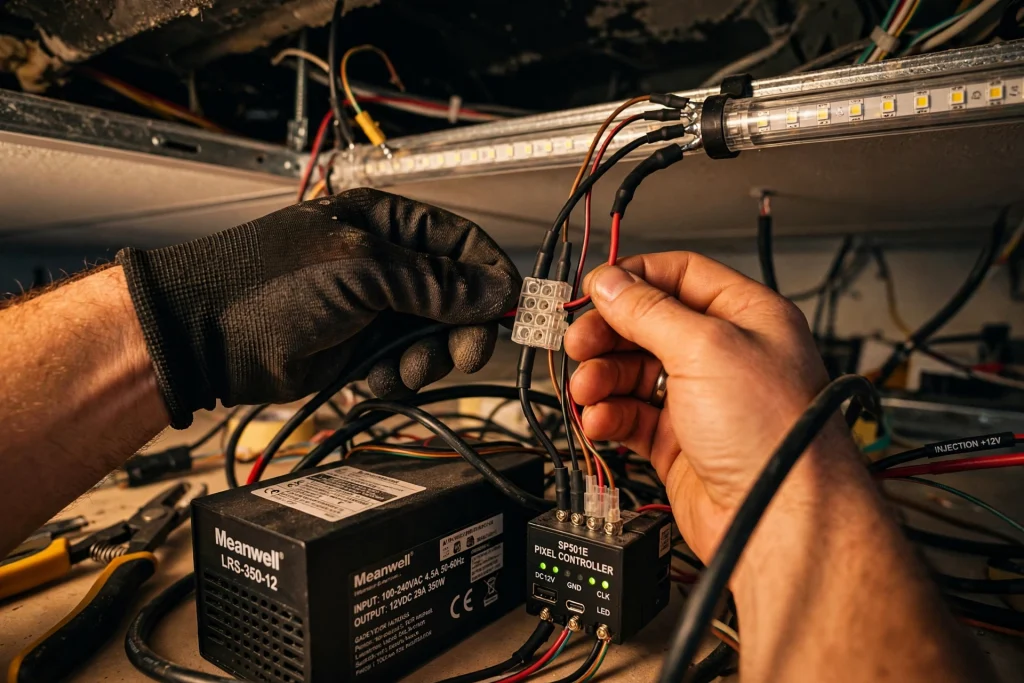
You have seen it before: a pixel tube or strip looks perfect at the start, then fades along its length. White turns yellow, then orange. The last metre is noticeably dimmer than the first. The strip is not broken — it is running out of voltage. The fix is called power injection, and it is one of the most useful skills in LED pixel installation. This guide explains why it happens, when you need it, and how to wire it safely.
Why the far end goes dim
The copper tracks inside an LED strip or pixel tube are thin. Every metre of strip adds a little resistance, and the more current flows through it, the more voltage is lost along the way. The LEDs at the far end receive less voltage than the ones near the power supply, so they run dimmer.
Figure 1: Voltage drops along the strip — the far end receives less voltage and runs dimmer.
The effect is worst at full white, when every colour channel is on and current draw is at its highest. Blue and green LEDs fade first as voltage falls, which is why white shifts yellow, then orange, toward the end of the run.
Voltage matters here. A 5V strip has very little room to lose: a drop of 1V is 20% of its supply. That is why 5V installations need injection soonest, and why 12V and 24V strips can run much further on a single feed.
How often to inject
As a practical rule of thumb for a standard 60 LEDs-per-metre strip, feed power again at roughly these intervals:
| Strip voltage | Inject power every | Notes |
|---|---|---|
| 5V | ~2 m | Dense or RGBW strips: every ~1.5 m |
| 12V | ~5 m | Dense 144/m strips: every ~2 m |
| 24V | ~10 m | Longest runs on a single feed |
These are starting points, not guarantees. Dense strips (144 LEDs per metre) draw more current and need feeds closer together, and RGBW strips draw more than RGB at full white. The reliable test is to set the strip to full white and measure the voltage across the last LEDs’ own + and − pads with a multimeter. If it reads more than about 10% below the supply voltage, add a feed. A simpler field rule: inject power every time the current in a section reaches about 4A on a 5V strip.
What you need
- A power supply matched exactly to your strip voltage — 5V, 12V or 24V. Never mix voltages on the same strip.
- Wire sized for the current. Up to about 2.5A, 20–22 AWG (0.5 mm²) is enough for short leads; 2–5A calls for 18–16 AWG, and longer leads need thicker wire. Thin wire drops voltage itself and can get warm — which defeats the purpose of injecting.
- A fuse on every power feed, sized at about 80% of the maximum current for that feed. A fuse is cheap; a melted strip or a fire is not.
- A common ground. The power supply negative, the controller ground and the strip ground must all connect together. Without a shared ground, the data signal has no stable reference and pixels flicker or misbehave.
- A multimeter, for verifying voltage at the far end before you call the job done.
How to wire it, step by step
1. Calculate the total power first. A common figure is about 0.3W per LED at full white for a 5V pixel, so 5 metres of 60/m strip at full white draws roughly 90W, or 18A at 5V. Size your power supply with at least 20% headroom above that number — running a supply at 100% load shortens its life and invites voltage sag.
2. Plan your injection points. Mark them on the run before you mount anything: start, middle, and end for a long run. Short runs of 1–2 metres often need nothing more than feeding both ends.
3. Run a separate fused pair from the supply to each point. Use a red (+) and black (−) pair for every injection point, run directly from the power supply — do not daisy-chain the injection wires from one point to the next. Each feed should have its own fuse at the supply end.
4. Connect power only — never the data line — at injection points. The data wire goes in at the start of the strip only, from the controller. Feeding data in at multiple points causes conflicts and flicker.
5. Keep one shared ground. The supply negative, controller GND and strip GND all tie together. Without a shared ground, the data signal has no stable reference and pixels flicker or misbehave.
6. Test at full white. Set the whole run to full white and walk the length. Check brightness and colour consistency by eye, then measure the voltage at the far end. If it is within about 10% of the supply voltage and the colour is uniform, you are done. If not, add another injection point.
Common mistakes to avoid
- Feeding a long run from one end only. The classic error. If the strip is longer than the spacing in the table above, it needs more feeds.
- Using one supply for everything. A single large supply is fine, but a separate supply per zone is often simpler. If you do use multiple supplies, never connect their + outputs together — only their grounds.
- Skipping the fuse. Power injection wires carry real current. An un-fused short can melt insulation in seconds.
- Thin wire on long leads. The injection wire itself drops voltage. A long, thin feed can lose as much as the strip would have.
- Injecting data at multiple points. Power only at injection points. Data enters once, at the start, from the controller.
- Mixing voltages. A 12V supply on a 5V strip destroys LEDs instantly. Label supplies and double-check before powering up.
5V, 12V or 24V — which should you choose?
If you are still choosing hardware, voltage is a design decision, not just a spec:
- 5V is the standard for dense addressable pixels (WS2812B and similar) and short runs — bar shelves, small matrices, short tubes. It needs the most injection, so keep runs short or plan feeds carefully.
- 12V is a good middle ground for medium runs — typical bar and stage installations — with injection every few metres and widely available supplies.
- 24V is the best choice for long architectural runs, facades and outdoor installations. It travels furthest per feed, loses the least to voltage drop, and lets you use thinner wire. For runs over 10 metres, it is usually the cheapest option overall once you count the wire and labour you save.
For a new venue installation, the rule is simple: the longer the run, the higher the voltage you should choose.
The bottom line
Voltage drop is not a defect — it is physics, and every pixel installation deals with it. Plan injection before you mount the first tube, test at full white, and the last pixel will look exactly like the first.